How to style, compose and light a flat lay photograph

Street photographer Kiran Cox explores the visual storytelling genre of flat lay photography with his Nikon Z Series setup
Flat lay photography shares a personal story through objects. It is known for gaining high interactions with viewers on social media and is used by many, from bloggers and chefs to graphic desigers and of course photographers!
A few years ago, it used to be my go-to style when I worked as an in-house product photographer and designer for an independent gift company. I always loved when a new range of products would arrive and I had the opportunity to grab some different backgrounds to experiment with, whether it was using different coloured sheets of card or being able to box everything up and head out to find a location. I think coming from a street and documentary photography background is why I enjoyed this the most; being able to explore and hunt down the perfect texture and light always made the result more rewarding.
Composition
Composition is an essential part of any flat lay photograph. It is the composition that will draw the viewer’s eye into the photo, and it is up to you to bring them into the main focal point. This would be your main product/item, most often known as the hero piece. As a good starting point, placing the hero piece in the centre of your frame is an easy way to start building your scene. From here, you can start to add or remove items to see what works best. Remember to take a step back every so often to get a full view of how your layout is coming together.
There are a few different styles of composition you can play with to do this. The most common two are structured layouts, where each item is meticulously placed around your hero piece and a more random looking layout where you can place things at different angles and also have some of your pieces partially cropped out of the frame.
Follow the steps below and you will be well on your way to creating some amazing shots.


How to compose your shot:
- Ensure your hero piece is in the centre and commands the most attention from the viewer.
- Try not to use larger items in the corners of your shot.
- Keep an eye on the distancing between each piece. Keeping things equally spread always works well.
- Negative space can be very distracting, so keep an eye out for this, especially in the corners of your frame.
- Try to focus on the main parts of your hero piece e.g. with the Nikon Z 7 you might want to show the layout of the buttons at the top.
- Try some slightly different angles, adding a very slight tilt can add a lot more depth and dimension to a photograph without taking too much away from the birds-eye view.
- Use items that have different heights. This is a great way to make certain items stand out and make good use of any negative space.

Lighting
In most flat lay photography, you will see an even light spread across the image to avoid long and harsh shadows that might cover some of the items in the scene, and in some cases become a distraction from the main focal point. There are a few ways you can light your photo; natural light (if you are shooting outside, a cloudy sky will give you great even light with hardly any shadows), artificial light such as neon lights from a sign, continuous lighting or a speedlight.
However, in some cases introducing some direct light can help add depth and personality to your photo, if it does not overexpose any of the items you have laid out.
How to use lighting in your photo:
- Try to create an even light across your photo to make sure everything is exposed correctly and equally.
- Be mindful of harsh shadows as they may cover some of your items.
- When photographing items that are reflective, you can often get bright spots that could cover key details you are trying to capture.
- Keep an eye on your white balance. This is especially important if shooting under things such as blue skies, tungsten bulbs and fluorescent tubes.
Shoot flat lay like a pro
Watch Kiran as he styles and composes a flat lay

Balance, colour and tones
This is where you can start to bring out the personality of the photograph and make it unique to your aesthetic. There are a few ways you can go about doing this. Here are a few examples of things you can try:
- Try using a colour that contrasts with the products to help them stand out more, equally using the same colour can be just as visually appealing to the eye.
- Use different textured backgrounds — these always work extremely well e.g. bricks, wooden textures, and concrete.
- If you are using textures, keep them minimal so they do not take away from the items you are showcasing.

Telling a story
I mainly shoot street and documentary photography, and with this genre I am constantly trying to tell a story — either through a single image or from a group of photographs. I wanted to bring this into flat lay photography. Here are a few ways in which you can do this:
- Introduce some personal items into your photograph — such as a pair of sunglasses, a plant or a baseball cap. Just be careful that they do not detract from your hero piece.
- Background and textures always add depth and personality to a shot. If you are using the photos for a blog or Instagram feed, search for textures that match your style and bring out your personality.
- If you are shooting product, try to demonstrate some of its features. One example would be shooting the Z 6 with the tilt screen extended out.
- Bring in other elements such as water. Adding a light mist to your products or background can further help visually tell the story behind the photograph (such as demonstrating the weather sealing capabilities of the Z Series range).
- Postproduction editing. Every photographer edits their photographs in a unique way. Use this to add flavour to your photos.
Impostazioni
Ora arriva la parte tecnica della fotografia dall'alto. Per quanto riguarda le impostazioni della fotocamera, abbiamo a che fare con tempo di posa, apertura, ISO e lunghezza focale con cui stai scattando. Ecco una rapida analisi di alcune impostazioni che consiglio per scattare fotografie dall'alto.
Tempo di posa
Il modo in cui imposti il tempo di posa dipende da come stai riprendendo. Se stai scattando foto a mano libera, desideri assicurarti che sia impostata a una velocità sufficientemente veloce per evitare qualunque movimento della fotocamera. Un buon modo per valutare quale tempo di posa eviterà di catturare il movimento è quello di raddoppiare la velocità della lunghezza focale con cui stai scattando. Ad esempio, se utilizzi un obiettivo da 50 mm, accertati che il tempo di posa non sia impostato su un tempo più lento di 1/100 di secondo.
Diaframma
L'apertura con cui desideri scattare dipende dalla profondità di campo desiderata per la foto. In genere, se desideri scattare a f/5.6 o superiore, ciò garantisce che tutti gli elementi della foto siano nitidi e a fuoco. Se hai elementi che hanno una altezza molto maggiore rispetto ad altri, potresti aver bisogno di aumentare ulteriormente l'apertura.
In alternativa, se davvero desideri evidenziare una parte specifica della foto, ad esempio la parte che raffigura il tuo eroe, lo spostarti verso un'apertura più ristretta, ad esempio f/2.8 o inferiore, ti darà un piacevole sfondo sfocato.
ISO
Nella maggior parte dei casi, le foto dall'alto sono riprese con una buona fonte di illuminazione. Pertanto, non è necessario avere un'alta sensibilità ISO. Idealmente, dirò di mantenerlo il più basso possibile per evitare la sgranatura e mantenere le foto il più nitide e pulite possibile. La maggior parte delle foto che ho scattato della Serie Z sono state scattate con ISO 500 o minore. Se lavori in condizioni di oscurità, prova a utilizzare un treppiedi in quanto puoi ridurre il tempo di posa e ridurre l'ISO.
Lunghezza focale
È possibile scattare foto dall'alto con la maggior parte delle lunghezze focali ma se si passa ad un'impostazione troppo larga, si inizierà a ottenere una distorsione dell'obiettivo. Al fine di evitare questo problema, consiglio di scattare a una larghezza non superiore a 50 mm. In genere scatto esclusivamente con un'estensione di 35 mm durante le riprese di street photography, ma per le riprese dall'alto, devi muoverti molto vicino oppure potresti vedere qualche distorsione nelle foto finali.
Editing
Sono disponibili così tante applicazioni e app per modificare le foto. Utilizzo principalmente Adobe Lightroom. È veloce e facile da usare e rappresenta un ottimo modo per organizzare tutti i file. Per chi usa Lightroom per la prima volta, il modo migliore per imparare è utilizzare gli strumenti di modifica e regolare i cursori, giocare con la curva tonale e attivare e disattivare le opzioni per vedere in che modo influiscono sull'immagine. Una volta che conosci ciò, puoi iniziare ad apportare modifiche secondo il tuo stile.
È inoltre uno strumento eccezionale per apportare piccole modifiche, quali la rimozione dei punti polvere e la pulizia delle aree più piccole della foto.
Suggerimenti per modificare foto dall'alto in Lightroom
- Inizia sempre selezionando le caselle “Rimuovi aberrazione cromatica” e “Abilita correzioni profilo” nella sezione correzioni obiettivo. In questo modo si ridurrà la distorsione dell'obiettivo.
- Presta attenzione durante la regolazione dei colori. In particolare, per la fotografia dei prodotti cerca di mantenere i colori il più vicino possibile all'originale.
- Se hai un set completo di foto sullo stesso sfondo, salva la modifica di cui sei più soddisfatto come preimpostazione. In seguito puoi applicarla a tutte le foto selezionate.
- Eseguo le modifiche principalmente nelle sezioni ‘Tono’ e ‘Curva tonale’. Da questa sezione è possibile aumentare drasticamente i colori e i toni naturali di una fotografia.
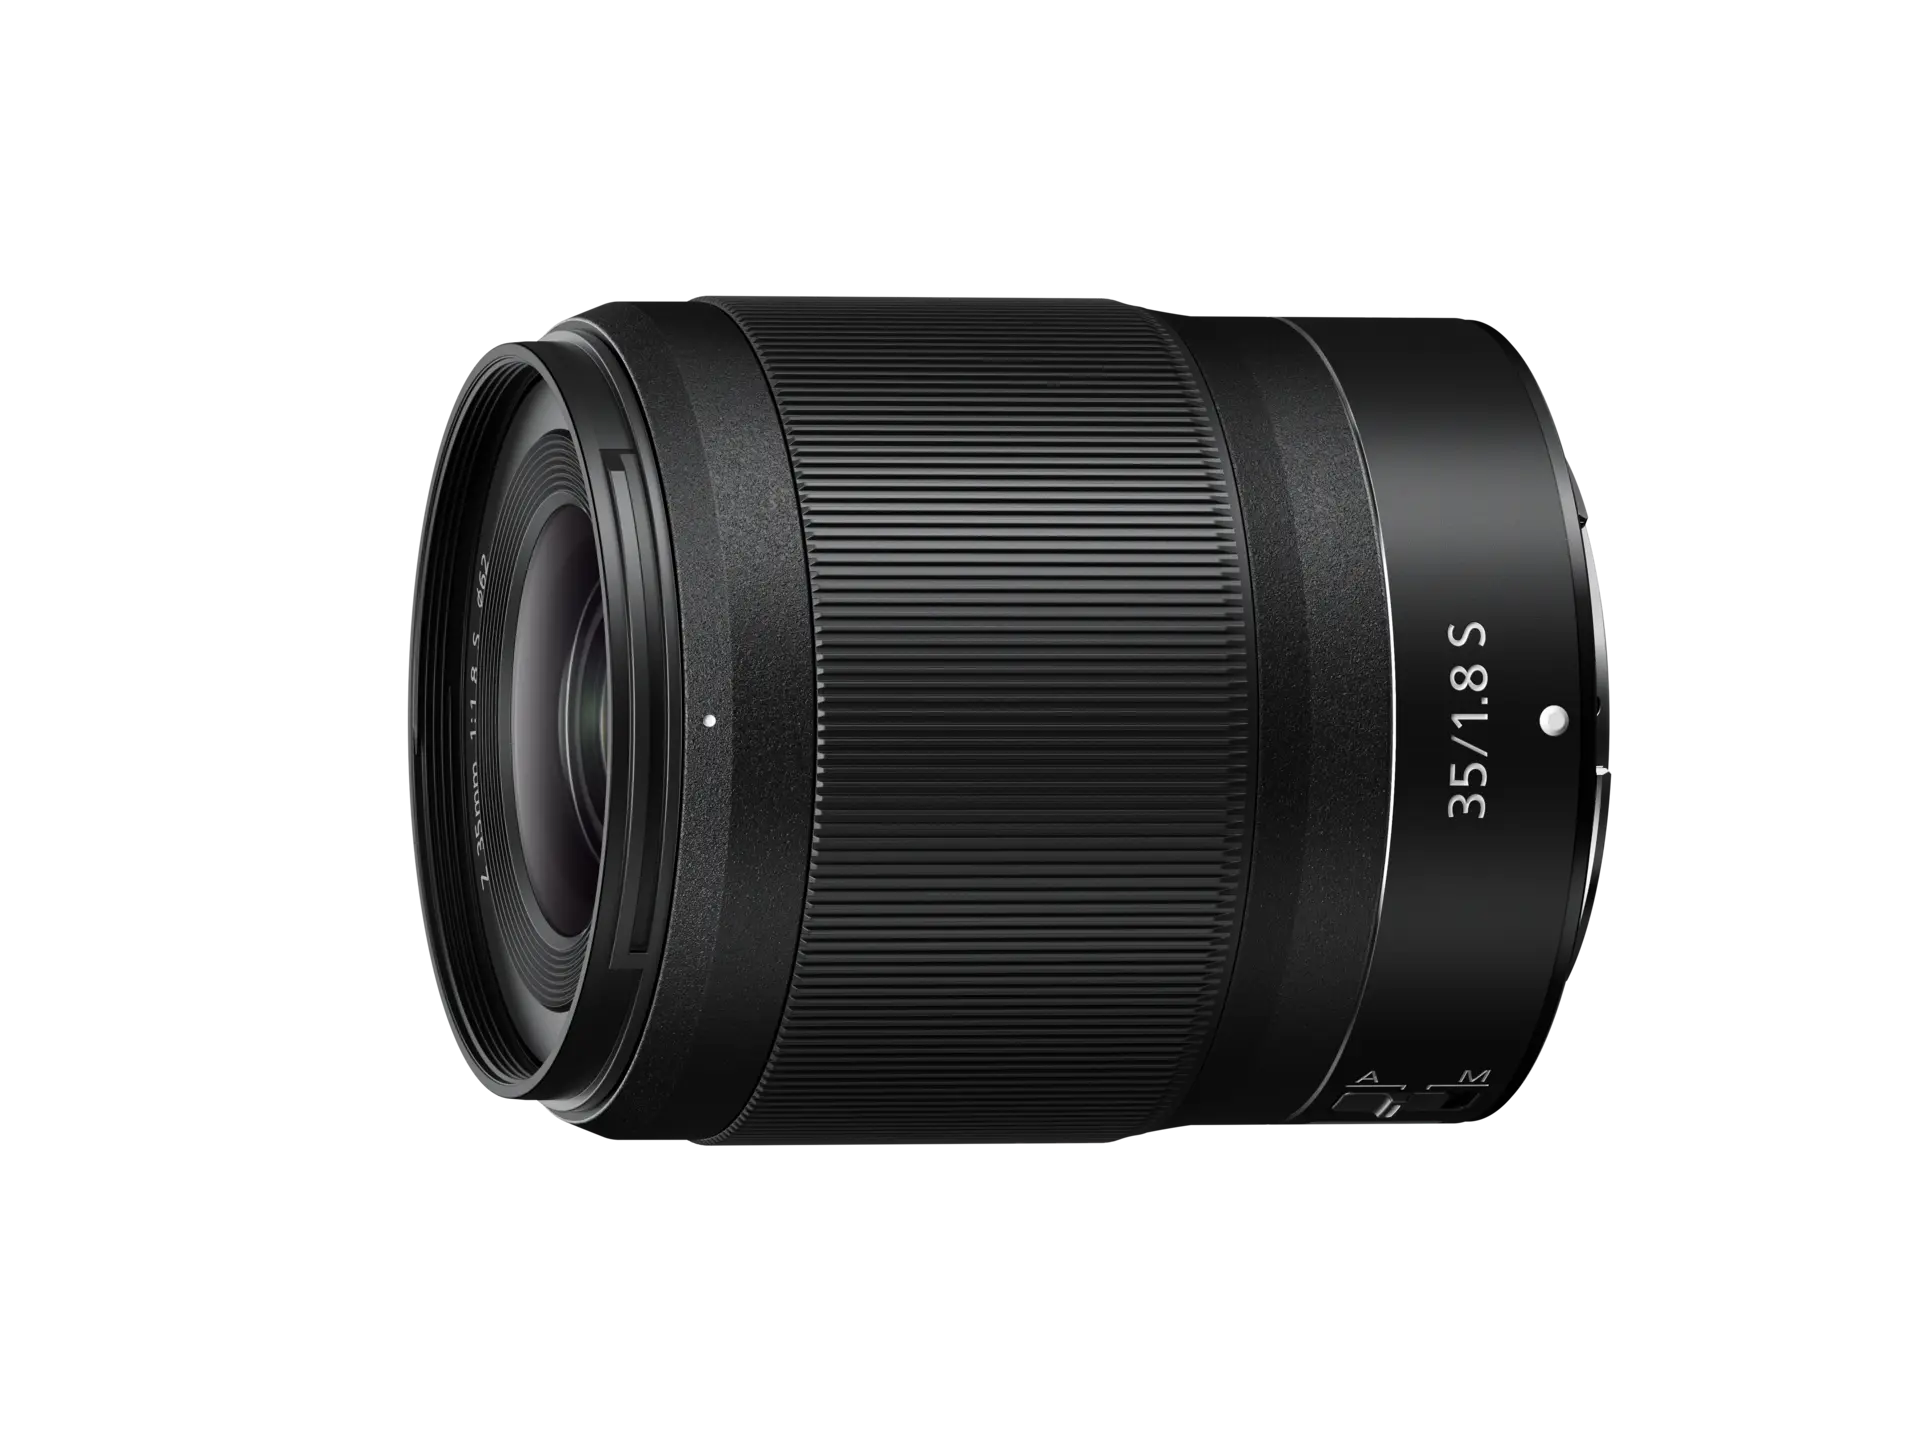
Featured products

'%3e %3ccircle cx='453' cy='453' r='263' fill='%23FFDD00'/%3e %3c/g%3e %3cdefs%3e %3cfilter id='filter0_df_5839_100698' x='0' y='0' width='906' height='906' filterUnits='userSpaceOnUse' color-interpolation-filters='sRGB'%3e %3cfeFlood flood-opacity='0' result='BackgroundImageFix'/%3e %3cfeColorMatrix in='SourceAlpha' type='matrix' values='0 0 0 0 0 0 0 0 0 0 0 0 0 0 0 0 0 0 127 0' result='hardAlpha'/%3e %3cfeOffset dy='1.66516'/%3e %3cfeGaussianBlur stdDeviation='0.832579'/%3e %3cfeComposite in2='hardAlpha' operator='out'/%3e %3cfeColorMatrix type='matrix' values='0 0 0 0 0 0 0 0 0 0 0 0 0 0 0 0 0 0 0.25 0'/%3e %3cfeBlend mode='normal' in2='BackgroundImageFix' result='effect1_dropShadow_5839_100698'/%3e %3cfeBlend mode='normal' in='SourceGraphic' in2='effect1_dropShadow_5839_100698' result='shape'/%3e %3cfeGaussianBlur stdDeviation='95' result='effect2_foregroundBlur_5839_100698'/%3e %3c/filter%3e %3c/defs%3e %3c/svg%3e)

Zoom in on the action


Answering all how-tos